I first looked a Microsoft Flow & Azure Logic Apps about a year ago to handle Skype for Business Online’s CloudPBX/Phone System voicemail distribution: Auto forward Azure Voicemail messages. It’s critical to understand that Azure Voicemail unlike Exchange Unified Messaging, deposits messages directly into a user’s mailbox via OAuth and Exchange Web Services (EWS) vs. sending by SMTP. Basically you can kiss Outlook/Exchange mail forwarding rules goodbye.
I’ve been revisiting Flow & Logic Apps lately as I automate business processes around the upcoming release of Direct Routing for Microsoft Teams ( Direct Routing enables new enterprise voice options in Microsoft Teams). What I didn’t expect, was being bitten by the Flow bug and consumed with automating as much as possible. I figured, might as well blog my notes, issues and flows.
To start, here’s an updated Phone System message processing flow. This alone exposes some improvements and maturity of the product in a year. For one, I’m now able to export flows as a package. Some work is still required on data sanitation. The biggest improvement for today’s flow is around attachment handling. Most of the complexity and work in my previous solution was around detecting if there was an attachment and getting it reattached to the outgoing email.
Microsoft Phone System Message Forwarding (Flow package), can be found on the TechNet Gallery. Flow Package Download: MSPhoneSystemMessageForwarding.zip https://gallery.technet.microsoft.com/Phone-System-Message-c823fbc3
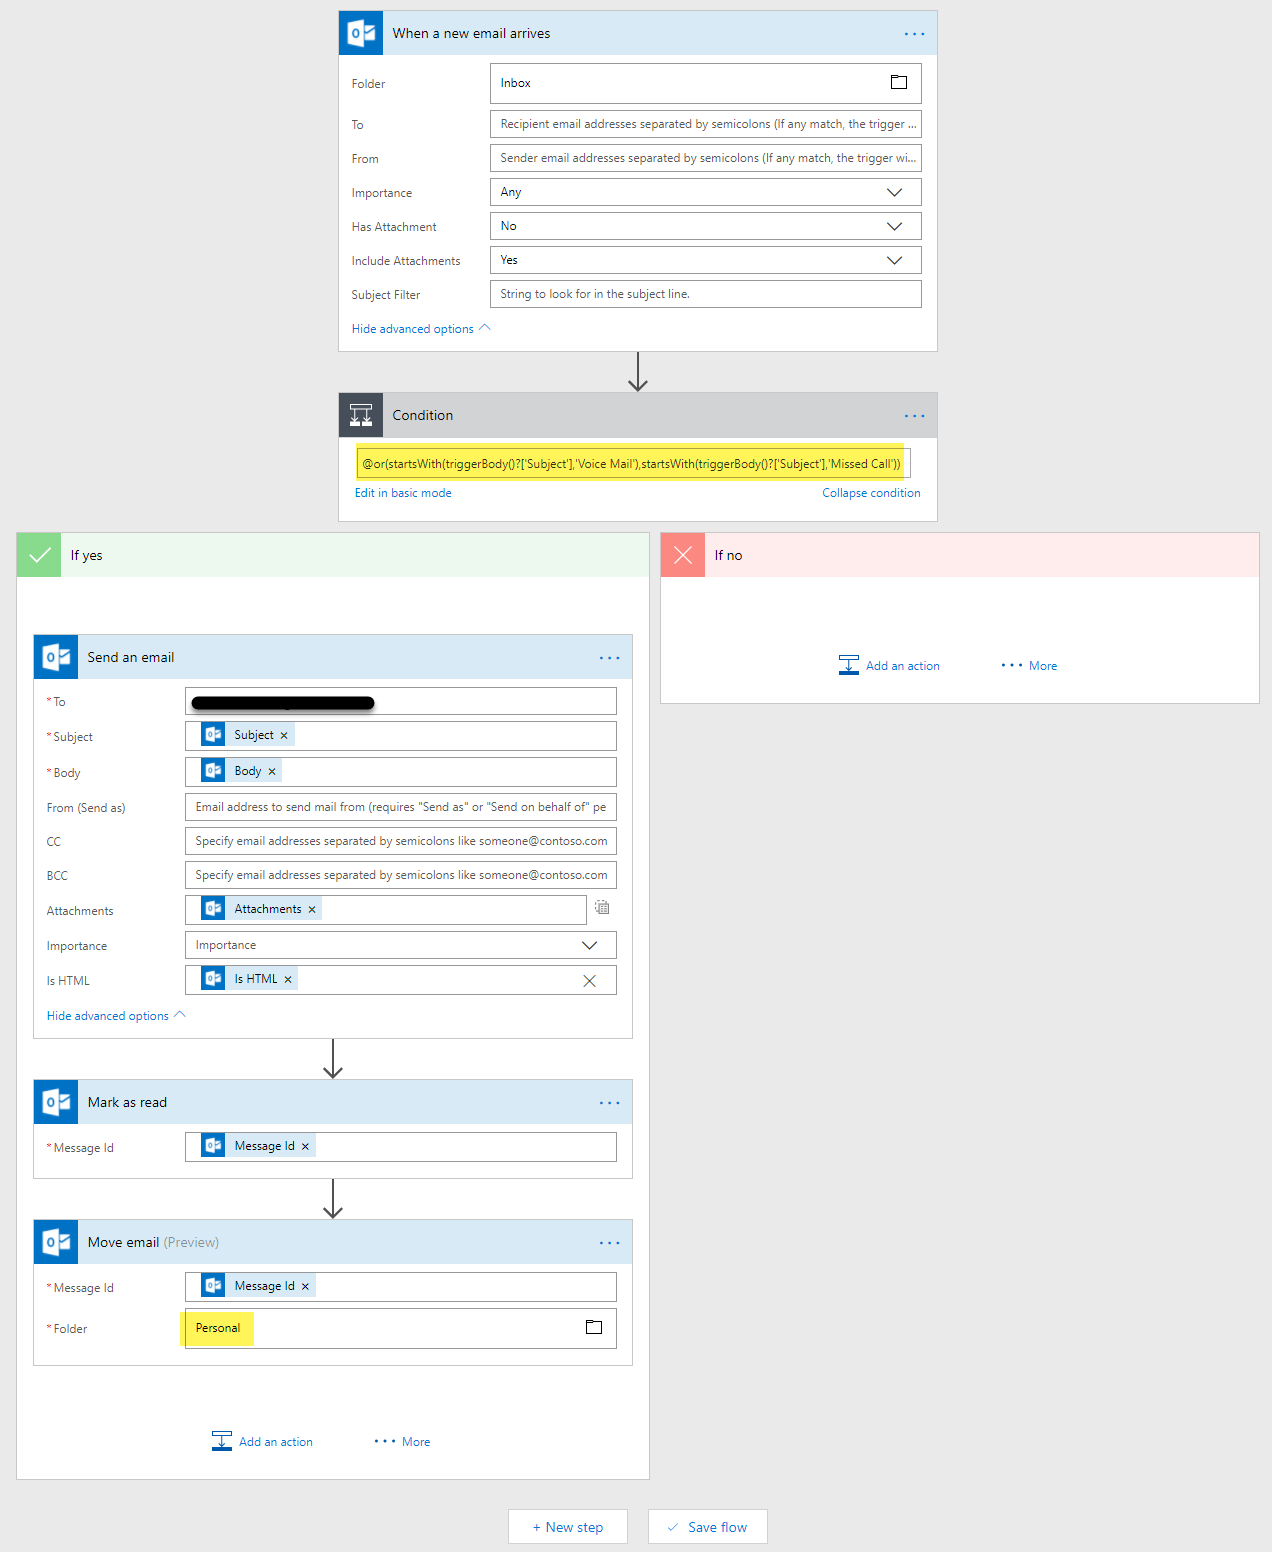
Flow Breakdown:
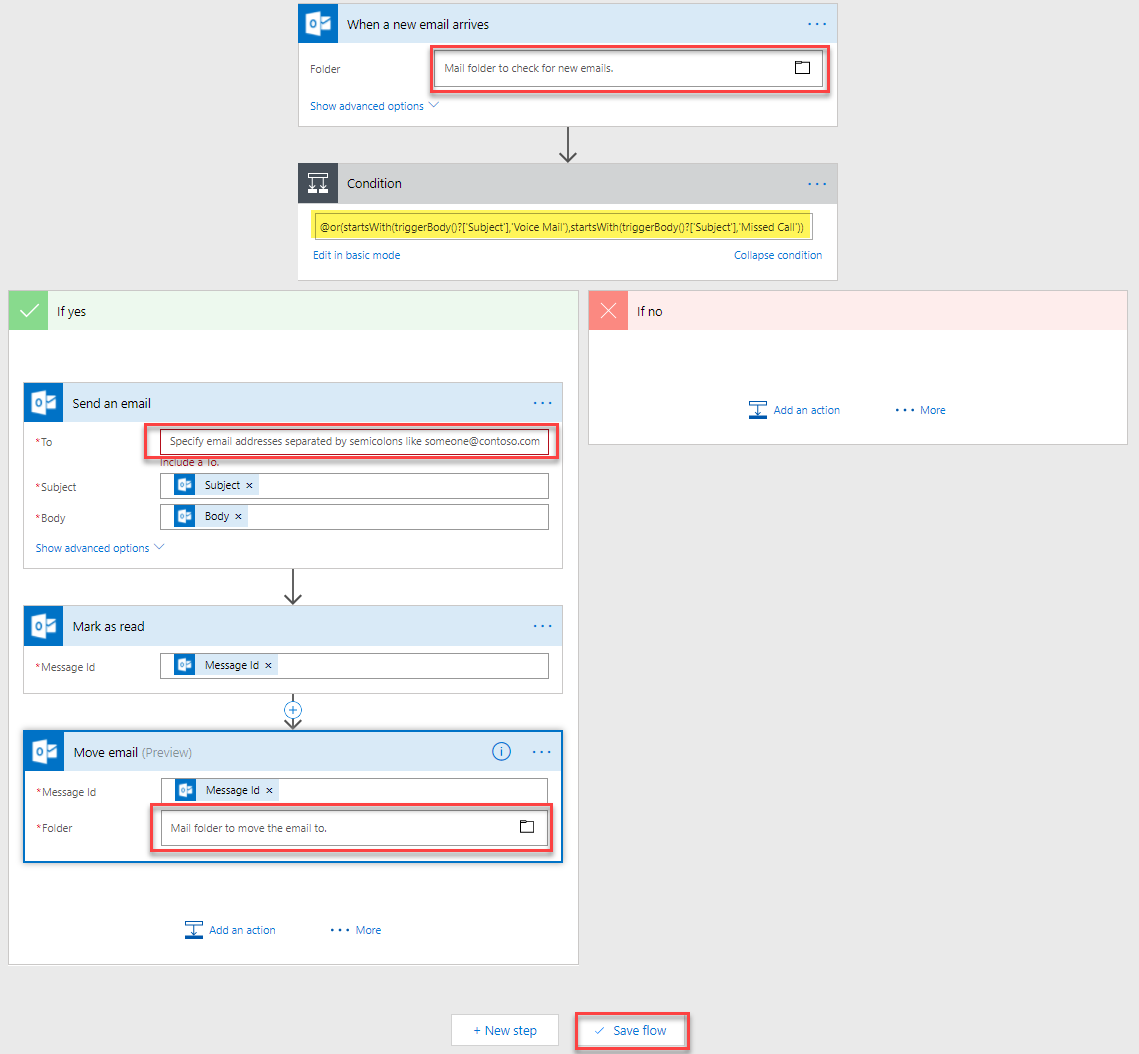
- Trigger flow “When a new email arrives” in the Inbox (include attachments).
- Apply a condition to pass if the Subject of the email starts with either “Voice Mail” or “Missed Call”. “if no” end flow.
@or(startsWith(triggerBody()?['Subject'],'Voice Mail'),startsWith(triggerBody()?['Subject'],'Missed Call'))
- “if yes”.
- “Send an email” to specified addresses, use original email’s Subject, Body, Attachments and formatting (“Is HTML”).
- “Mark as read”.
- “Move email” to a processed folder (not sure why this is still listed as Preview, was a year ago also).
Import Package:
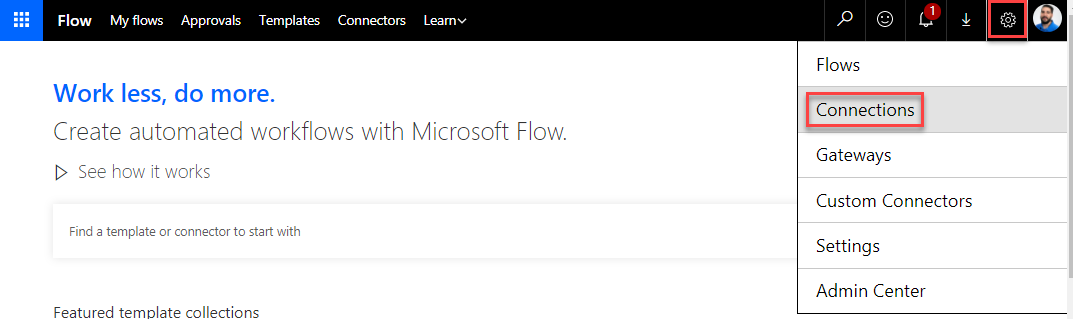
- Navigate to Microsoft Flow either by the “Flow” tile in Office 365 or browsing to: https://flow.microsoft.com.
- If you don’t already have an existing connection to Office 365 Outlook for the mailbox that messages are being deposited in, quickly create that prior to importing the package.
- Click the “Settings” gear and Select “Connections”.
- Click “New connection”.

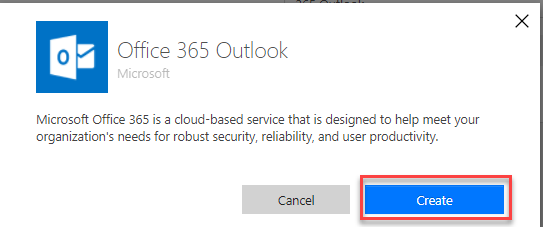
- Search for “365 Outlook”.

- Click “Create” for the “Office 365 Outlook” connection.
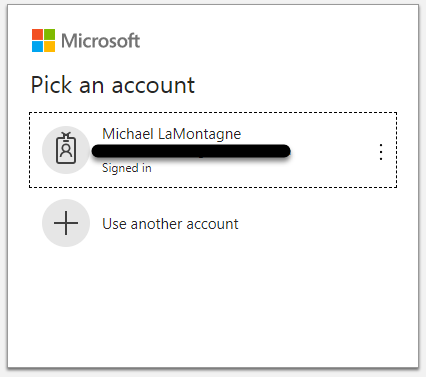
- Authenticate to the mailbox that messages are being deposited in.
- Click the “Settings” gear and Select “Connections”.
- Navigate to “My flows” and click “Import”.

- Click “Upload” and browse to the package zip file.

- On the “Package details” screen, Click the Action wrench for each row to expose a related “Import setup” menu.
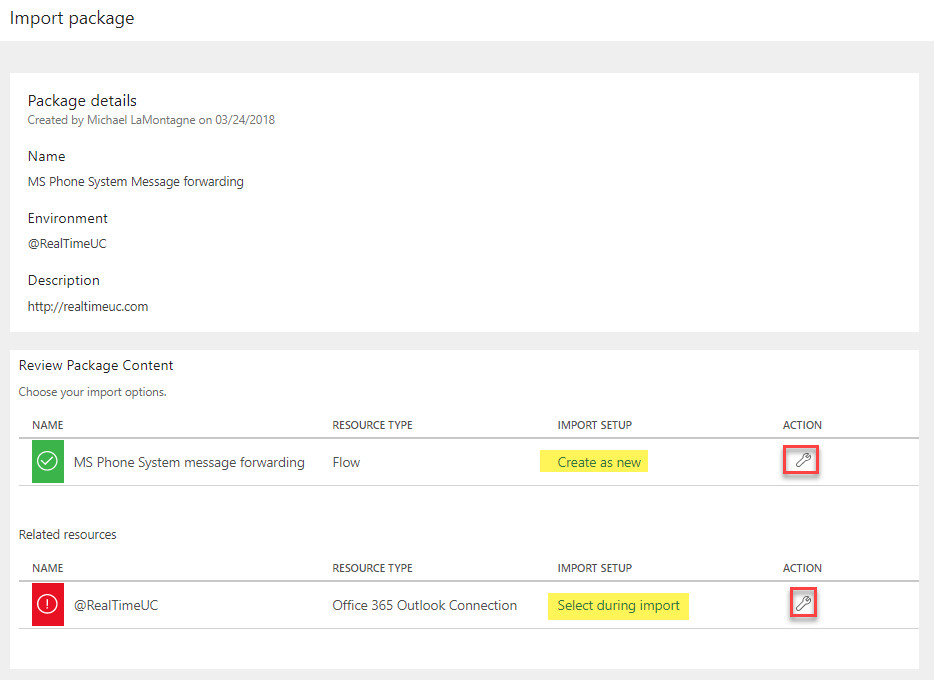
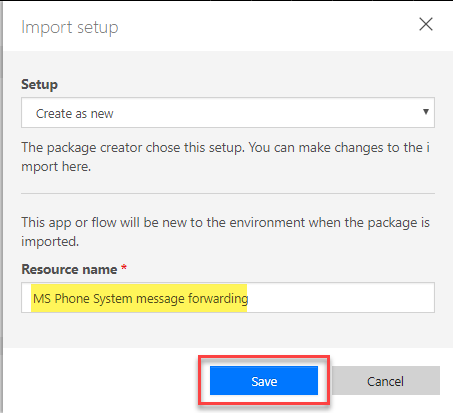
- “Name”, ability to change the flow name before import and “Save”.
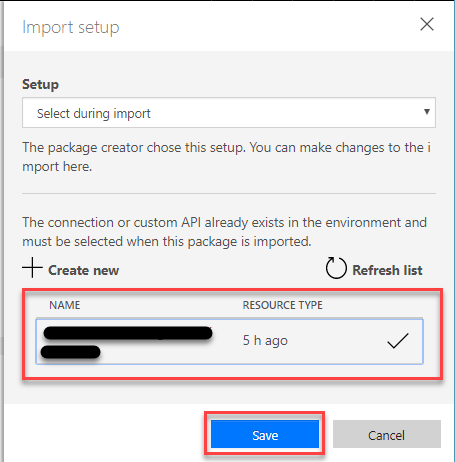
- “Related resources”, Select the Office 365 Outlook connection you created in Step 2 or use the “Create new”. If you Select “Create new”, another browser tab will open and follow the steps in Step 2. After, you will need to Click “Refresh list” for the new connection to be listed, Select and “Save”.
- “Name”, ability to change the flow name before import and “Save”.
- Click “Import”.
- Click “Open flow”.
- Select “Inbox” as a folder under “When a new email arrives.
- Populate the “To” list under “Send an email” (where to forward messages as they come in).
- Select a folder under “Move email”, to store processed messages.
- Click “Save flow”.
Flow Package Download: MSPhoneSystemMessageForwarding.zip https://gallery.technet.microsoft.com/Phone-System-Message-c823fbc3